STM32 ARM Arduino Mini System Dev.board (blue pill) with Arduino bootloader

STM32 ARM Arduino Mini System Dev.board (blue pill) with Arduino bootloader

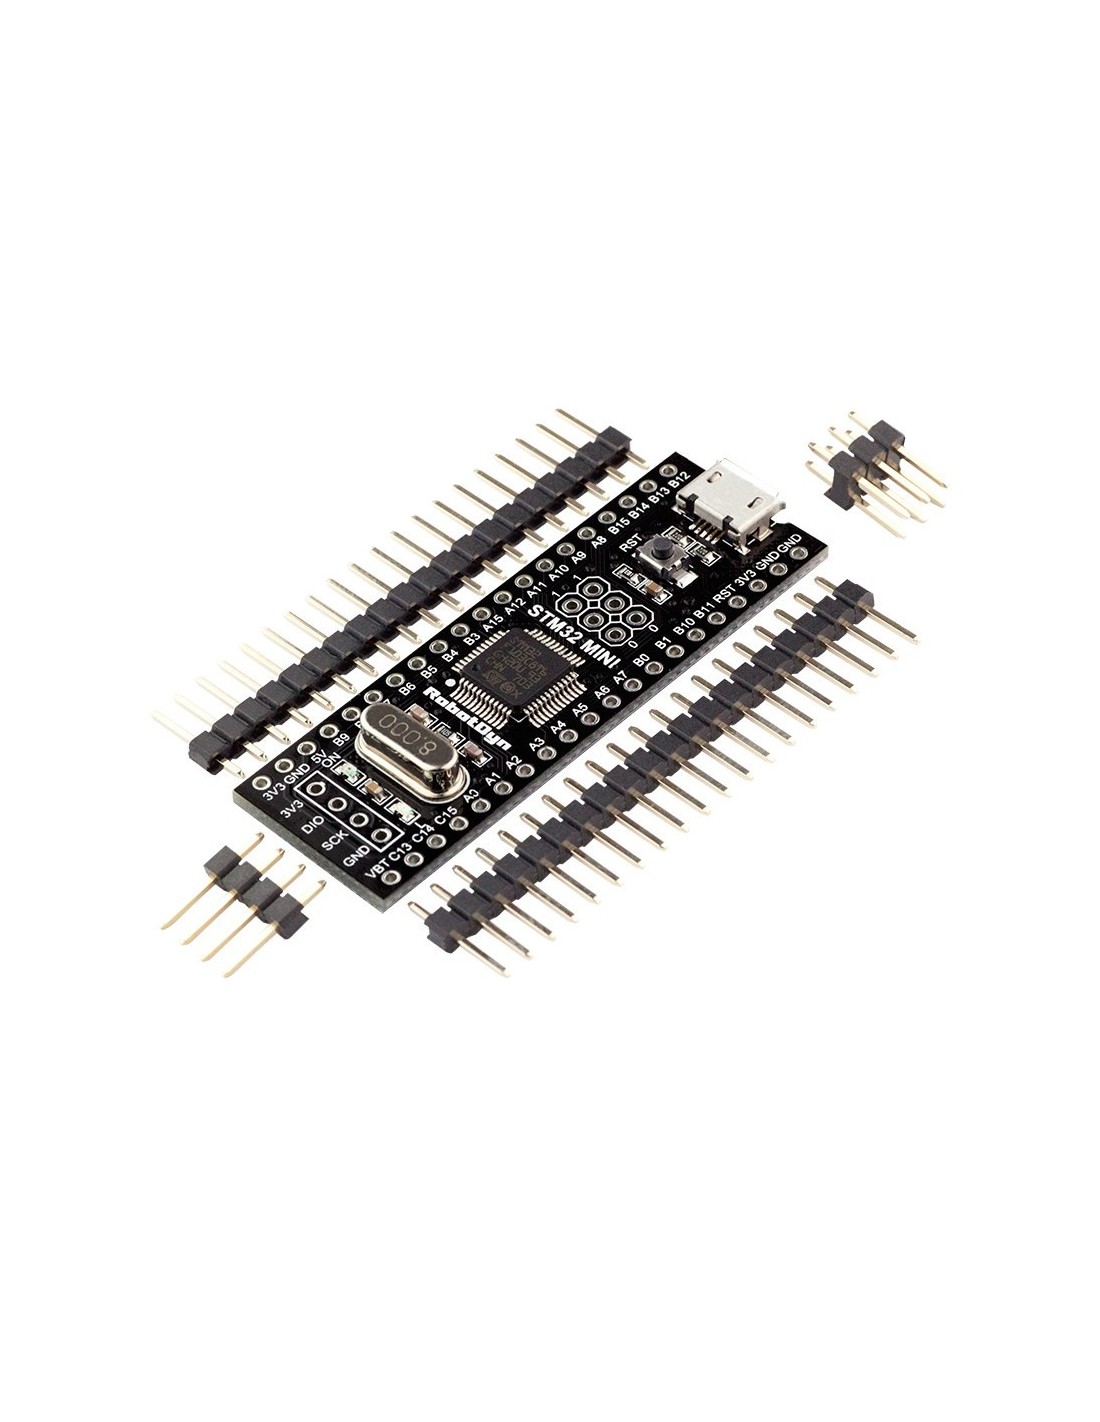
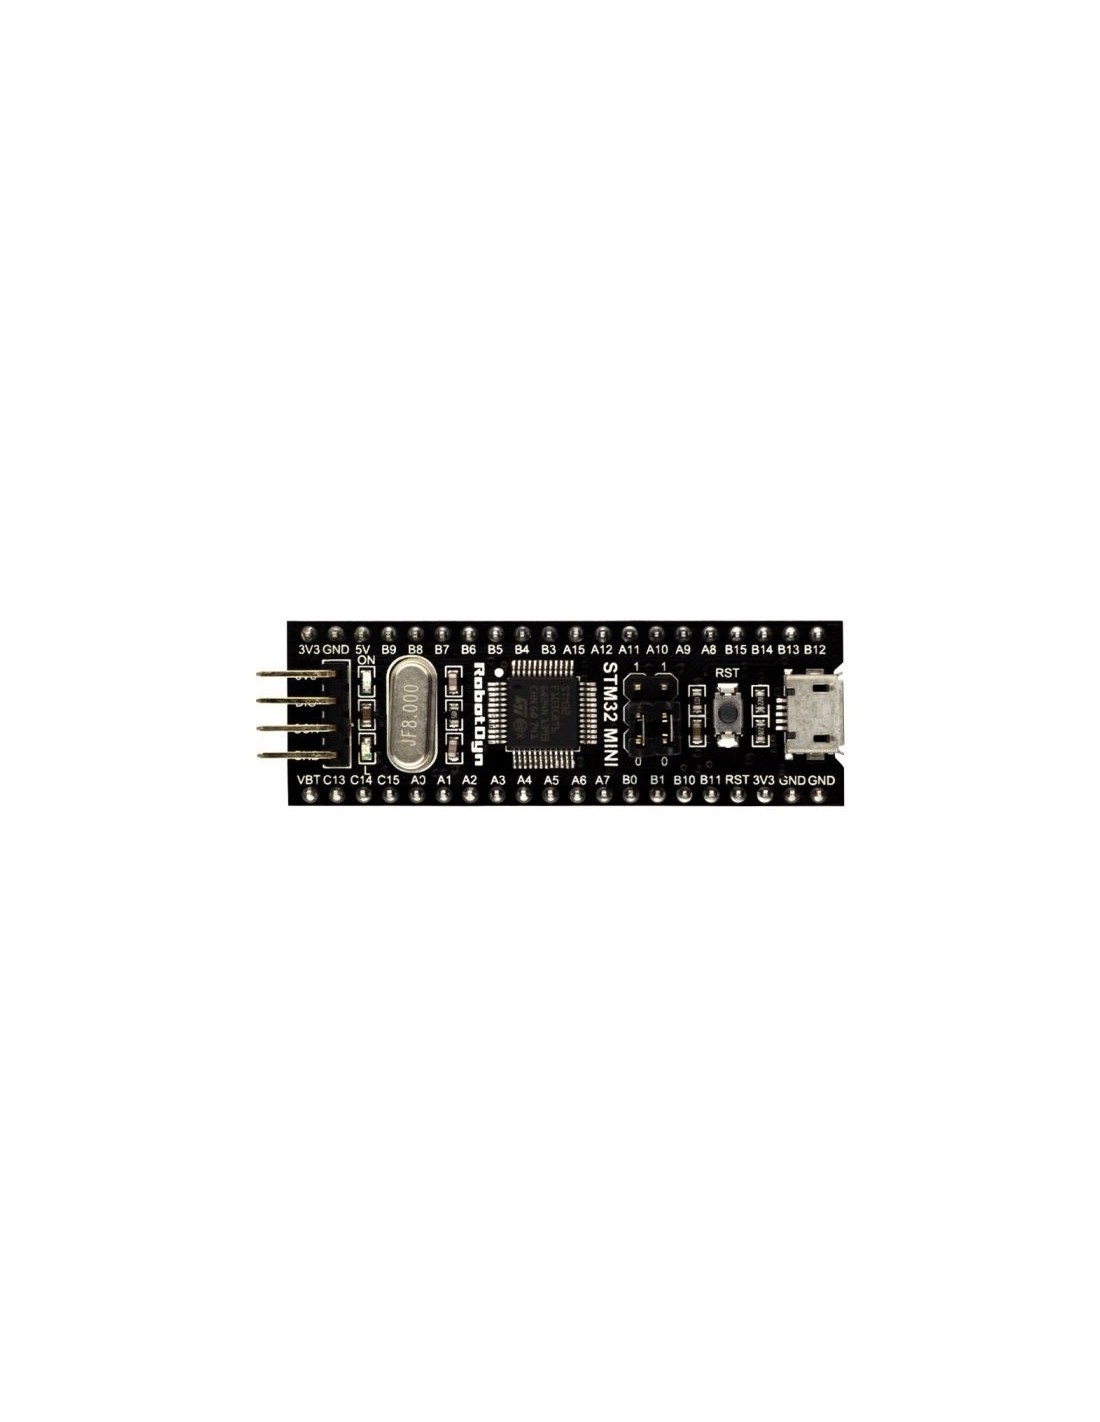
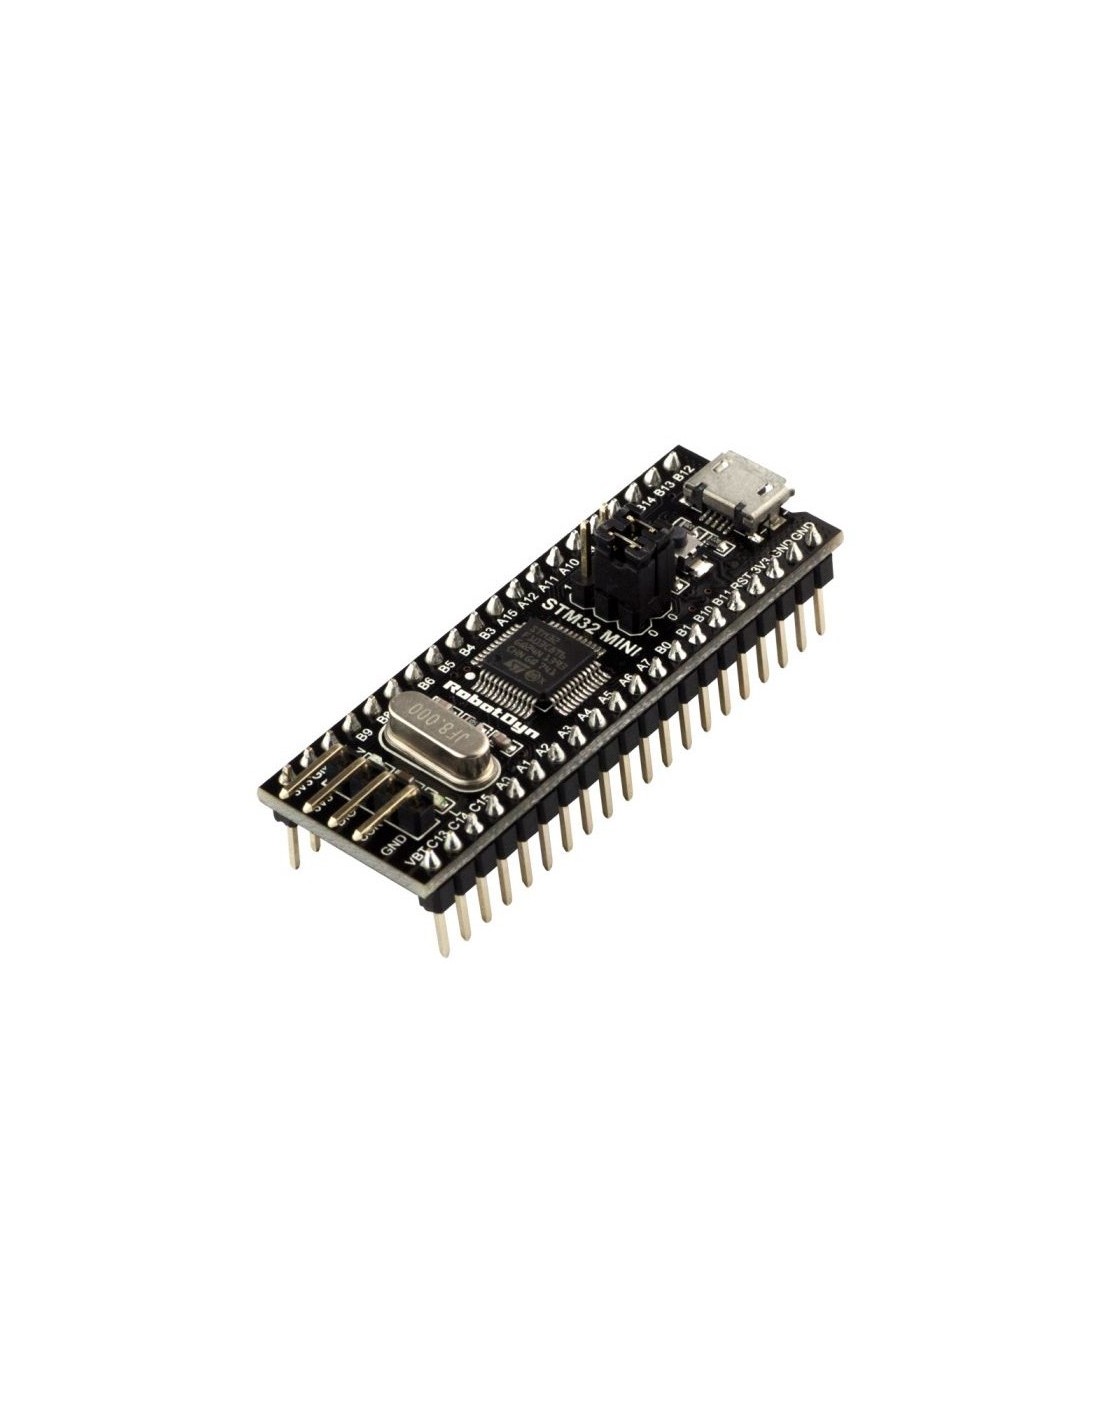
STM32 with Arduino bootloader

Legs
  • Pin-headers not soldered
  • Pin-headers soldered
Robodyn-STM32
Out-of-Stock
€9.30


Description:

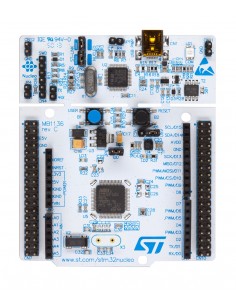
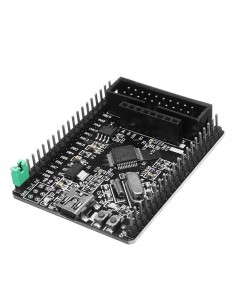
This board is ARM Cortex-M3 Minimum System Development Board – STM32F103C8T6.
Board build on STM32F103C8T6 - STM32 microcontroller with ARM Coretex-M3 32-bit core.
Logic level - 3.3V
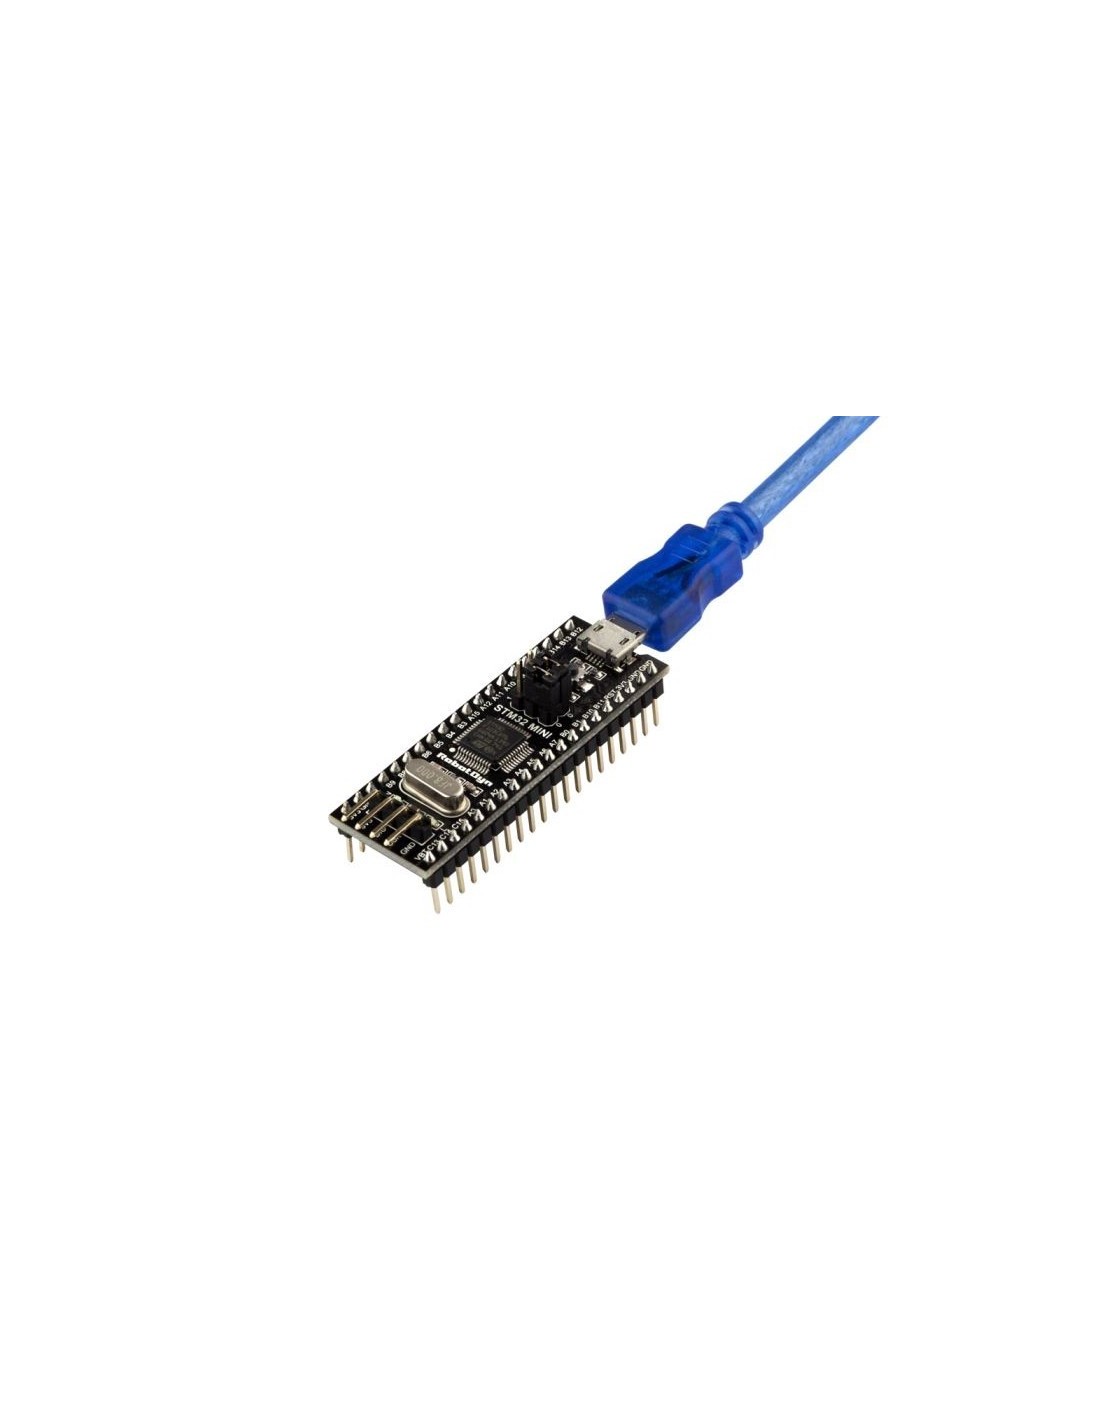
Board connects to the computer via microUSB cable (used for almost all Android smartphones).
You can supply power to board through the MicroUSB connector or to power pinheaders. The voltage regulator (LDO) can deal with incoming voltage from 4V to 8V DC. Output current for 3.3V - about 180mA (Please note that the higher the input voltage the lower the outgoing current). That will provide a reliable power most of your initial projects.

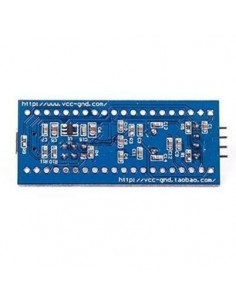
* D+ pull-up R=1.5K, crystal = precision clock resonator


Programming:

Using STM Flash Loader (ST-Link)

  1. Set Boot Jumper-0 to 1
  2. Set Boot Jumper-1 to 0
  3. Connect USB-TTL Converter’s TX to PA10 on STM Board
  4. Connect USB-TTL Converter’s RX to PA9 on STM Board
  5. Give 3.3V power to STM board using USB TTL converter
  6. Press and release reset button once
  7. Launch STM Flash Loader, Select Port Name (where your usb ttl converter is connected)
  8. Select Parity as Even, Baudate as 115200, Echo Disabled and Timeout 10s
  9. Press Next, and follow on screen instructions to program, erase or read STM microcontroller

For Ard IDE

No reviews

7 other products in the same category:

Product added to wishlist
Product added to compare.

Our website uses cookies. Cookies help to ensure the proper functioning of the website and its improvement, so the necessary cookies (technical, functional and analytical) are installed automatically. In order to personalize your Internet search experience and provide suggestions that will be relevant to you, the website also uses targeted cookies. By clicking "I agree", you agree to the installation and use of target cookies. You can revoke your consent at any time by changing the settings of your Internet browser or deleting the recorded cookies. More detailed information is provided in the cookie policy